Your Pectin Partner Since 1986
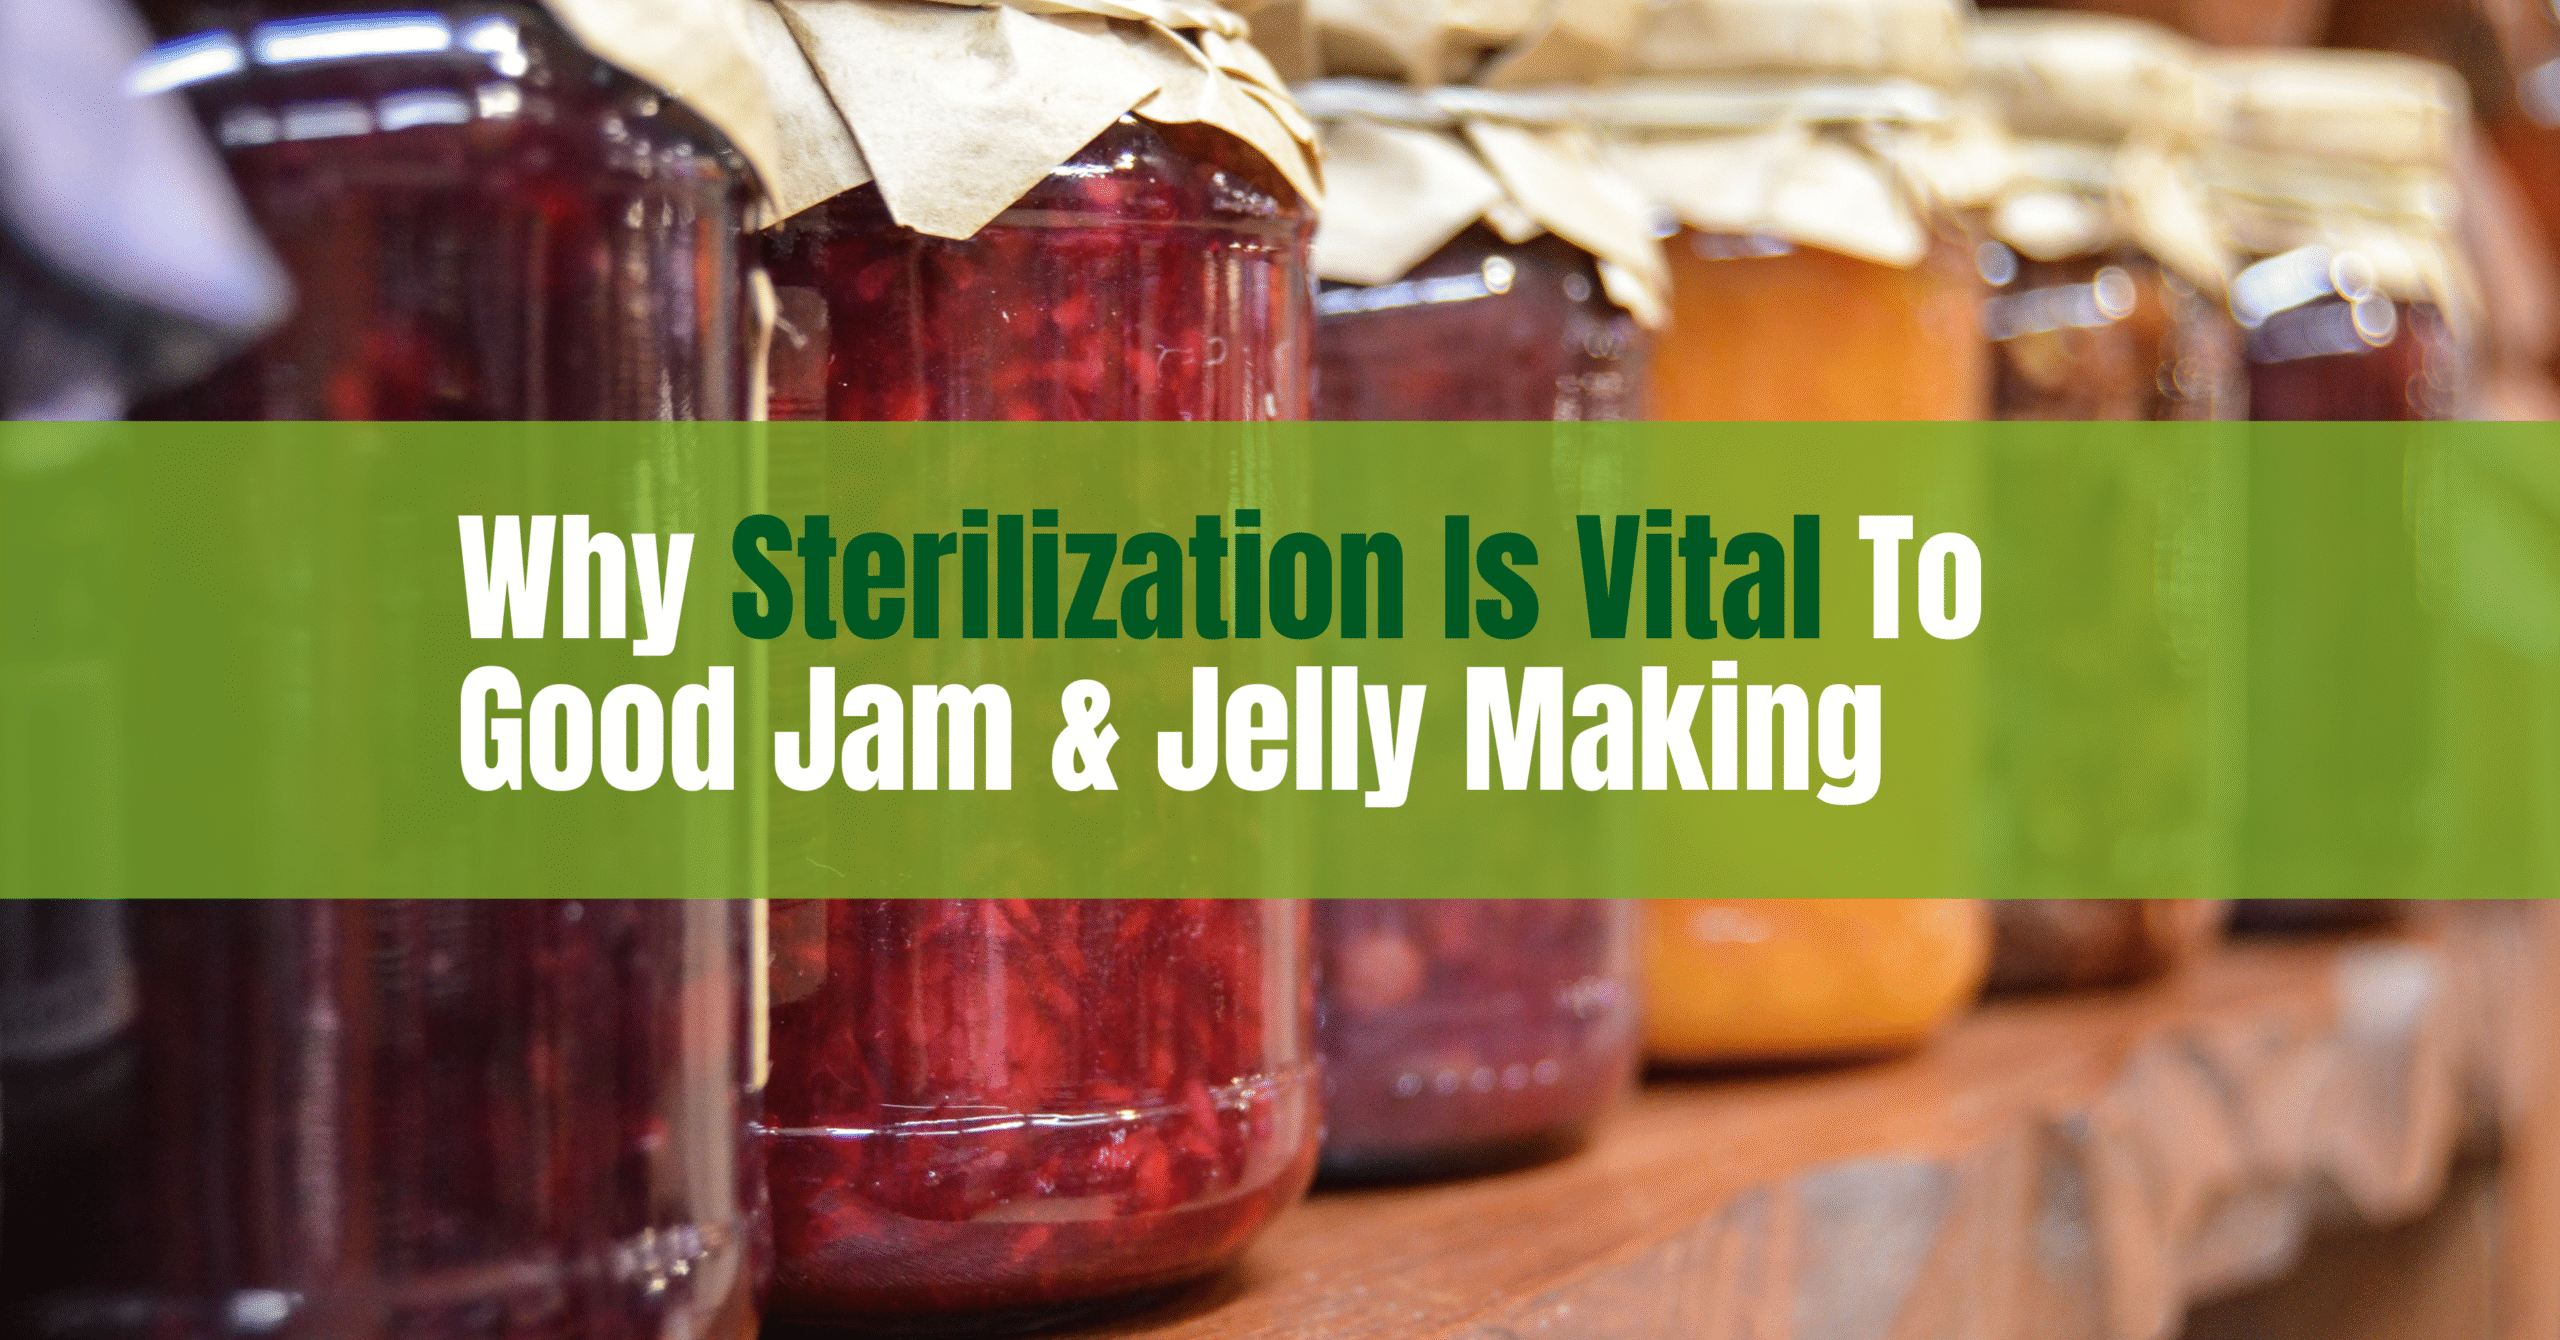
Sterilization in Jam and Jelly Making: Why You Can’t Afford To Skip It
You can get the fruit blend just right, hit your Brix and pH perfectly, and still end up with a spoiled final product. In jam and jelly making, sterilization isn’t just a step for beginners. It’s essential for ensuring both food safety and product quality. Whether you’re a seasoned home canner or a small-batch producer, improving your sterilization process might be the upgrade your workflow needs.
Why Sterilization Is Just as Important as Your Recipe
Even though sugar acts as a natural preservative, bacteria, yeast, and mold can still find a way in if your jars, lids, or utensils aren’t properly prepared. Issues like failed seals, watery textures, and crystallization can be traced back to poor sterilization. When done correctly, this step helps preserve the structure, shelf life, and appearance of your final product.
Hot-Fill vs. Water Bath: Which Method Should You Use?
Hot-fill processing is a viable method for high-acid, full-sugar jams. It involves pouring jam at 190°F or higher into sterilized jars and sealing them right away. The heat helps sanitize the interior of the jars. Water bath canning, on the other hand, is the more dependable option for small-batch producers or anyone working with lower sugar levels or borderline pH. It fully sanitizes the product after it is sealed, making it ideal for long-term storage.
Step-by-Step Sterilization at Home
Begin by washing your jars and lids with hot, soapy water. Boil the jars for at least 10 minutes to fully sterilize them. Lids should be placed in hot water, not boiling, to avoid damaging the sealing compound. Once clean, let the jars air-dry upside down on a sanitized towel or drying rack to minimize the risk of contamination.
Jam should be filled while still at or above 190°F. Be sure to leave about a quarter inch of headspace to allow for a proper vacuum seal. Once filled, seal the jars and choose your processing method. For water bath canning, fully submerge jars in boiling water for 5 to 15 minutes, depending on jar size and altitude. Always use a rack to keep jars off the bottom of the pot. If using the hot-fill method, invert jars for one minute after sealing to assist with the seal, then turn them upright and allow them to cool at room temperature for 12 to 24 hours.
Special Considerations for Low-Sugar Recipes
Reducing sugar below 40 percent removes one of the key natural barriers to spoilage. This raises the importance of sterilization and may require longer water bath times. For additional protection, we recommend using Pacific LM-O Pectin, which contains preservatives designed specifically for low-sugar applications. It helps maintain shelf stability without compromising your recipe goals.
When modifying traditional recipes to meet modern dietary preferences, sterilization becomes even more critical. Lower sugar can often mean higher risk.
After the Cook: Checking Seals and Proper Storage
Once jars have cooled, check the seal by pressing the center of the lid. If it moves or makes a popping sound, the seal didn’t take. Refrigerate those jars and use them within two weeks. For properly sealed jars, label them with the date, batch number, and any relevant formulation notes. Store sealed jars in a cool, dark place away from direct sunlight or temperature fluctuations, both of which can impact quality over time.
Need a Second Set of Eyes?
If you’ve already mastered fruit prep and pectin formulation, refining your sterilization technique is the final touch. Whether you’re troubleshooting spoilage, experimenting with shelf life, or adapting a new recipe, our technical team is here to help. We’ll review your process, walk you through any adjustments, and help ensure every jar you send out is safe, stable, and delicious.
GET FREE SAMPLES
Experience the quality of our pectin firsthand—request free samples today to see how our products can elevate your next batch.